I recently purchased a Milwaukee pH600 pH meter for my microgreens project, and I want to share a quick and easy guide on how to calibrate it. Proper calibration ensures accurate readings, which are crucial for the health and growth of your microgreens.
What you’ll need:
- Milwaukee pH600
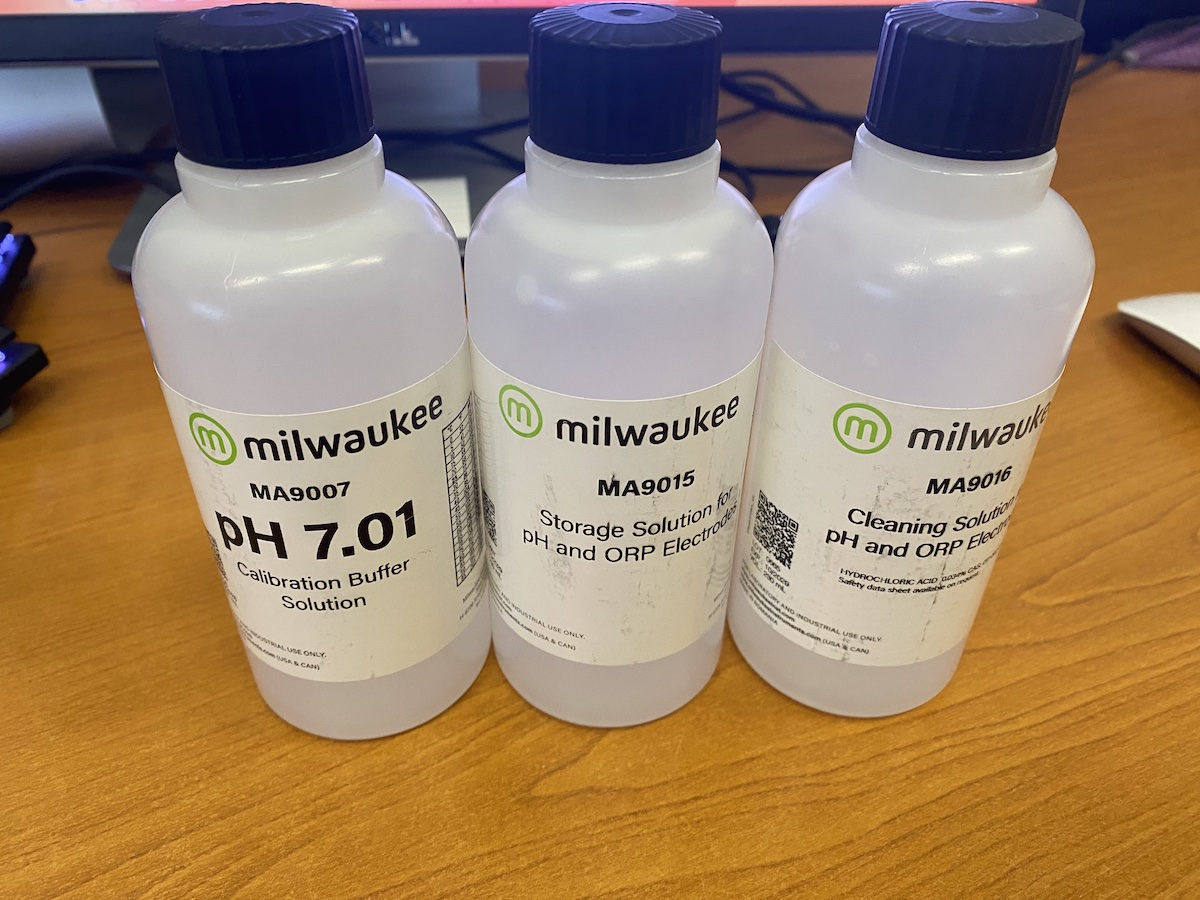
- Calibration solution MA9007
Calibration Steps:
- Turn on the pH meter by switching the ON/OFF button.
- Remove the protective cap.
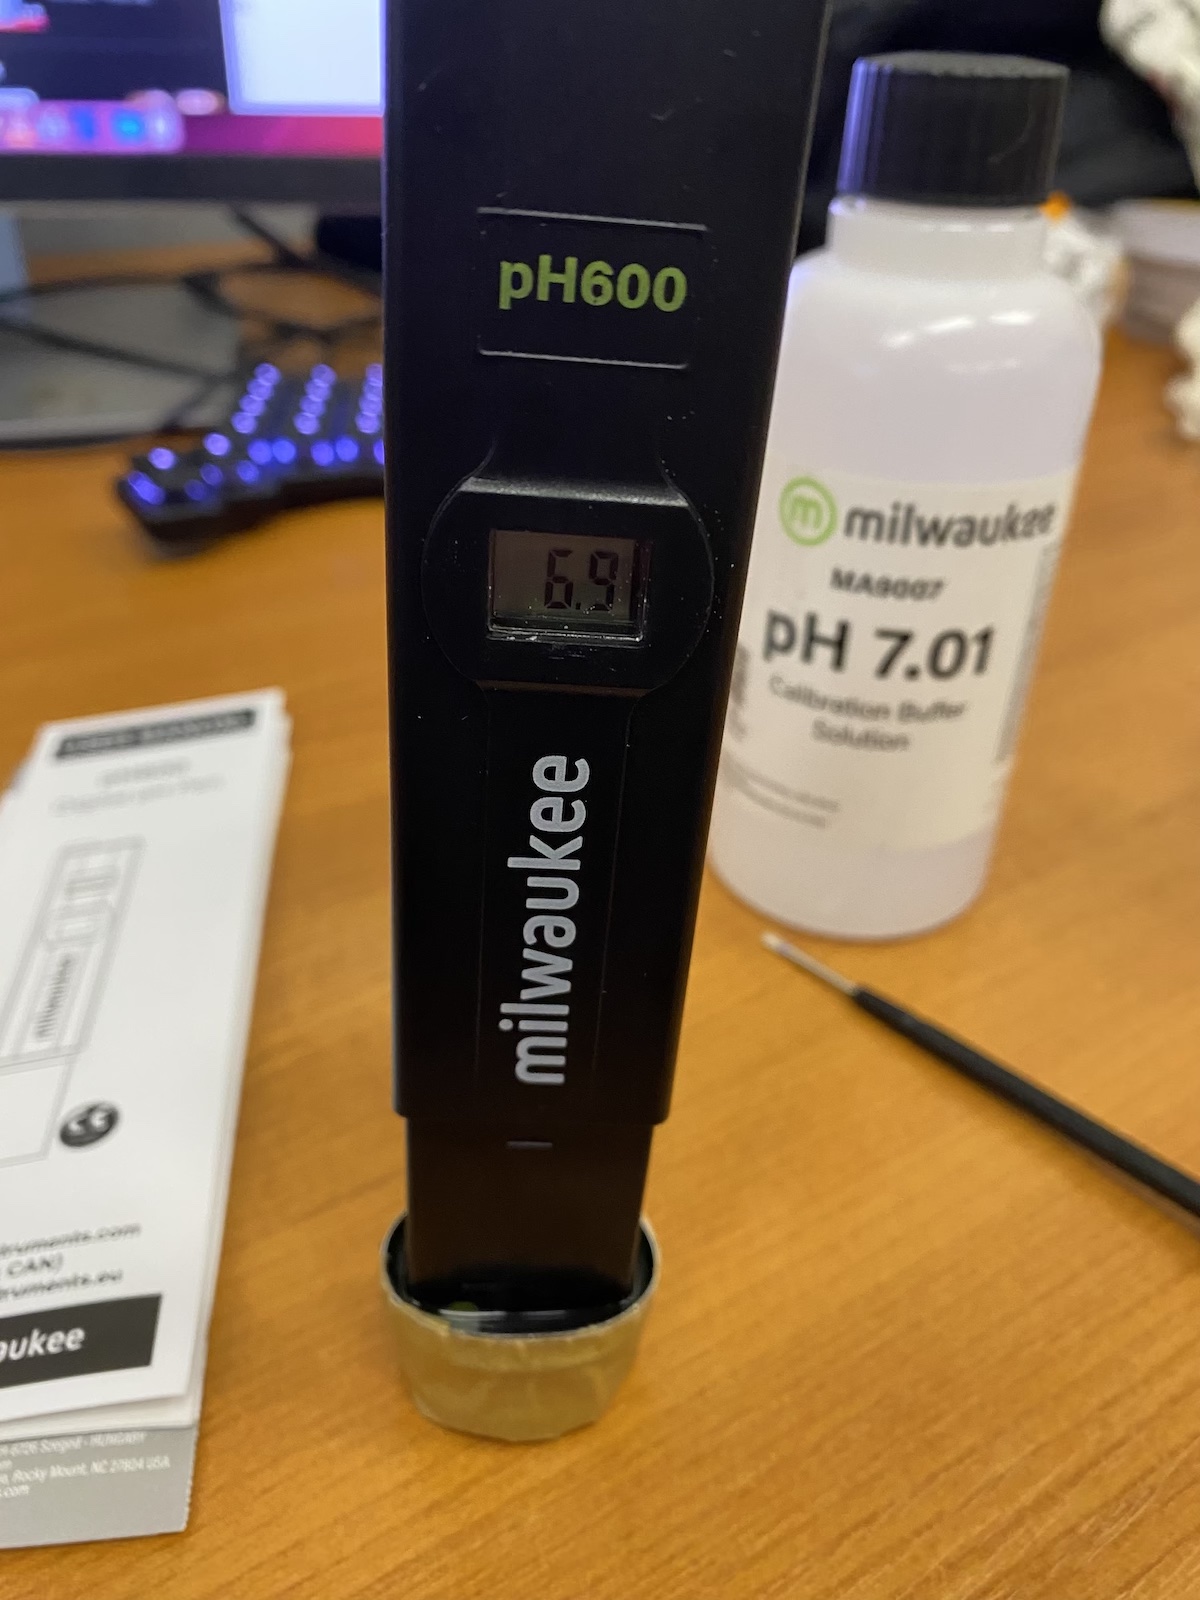
- Immerse the electrode in the pH 7.01 calibration solution (MA9007) and wait for the reading to stabilize.

In my case, the meter initially displayed 6.9.
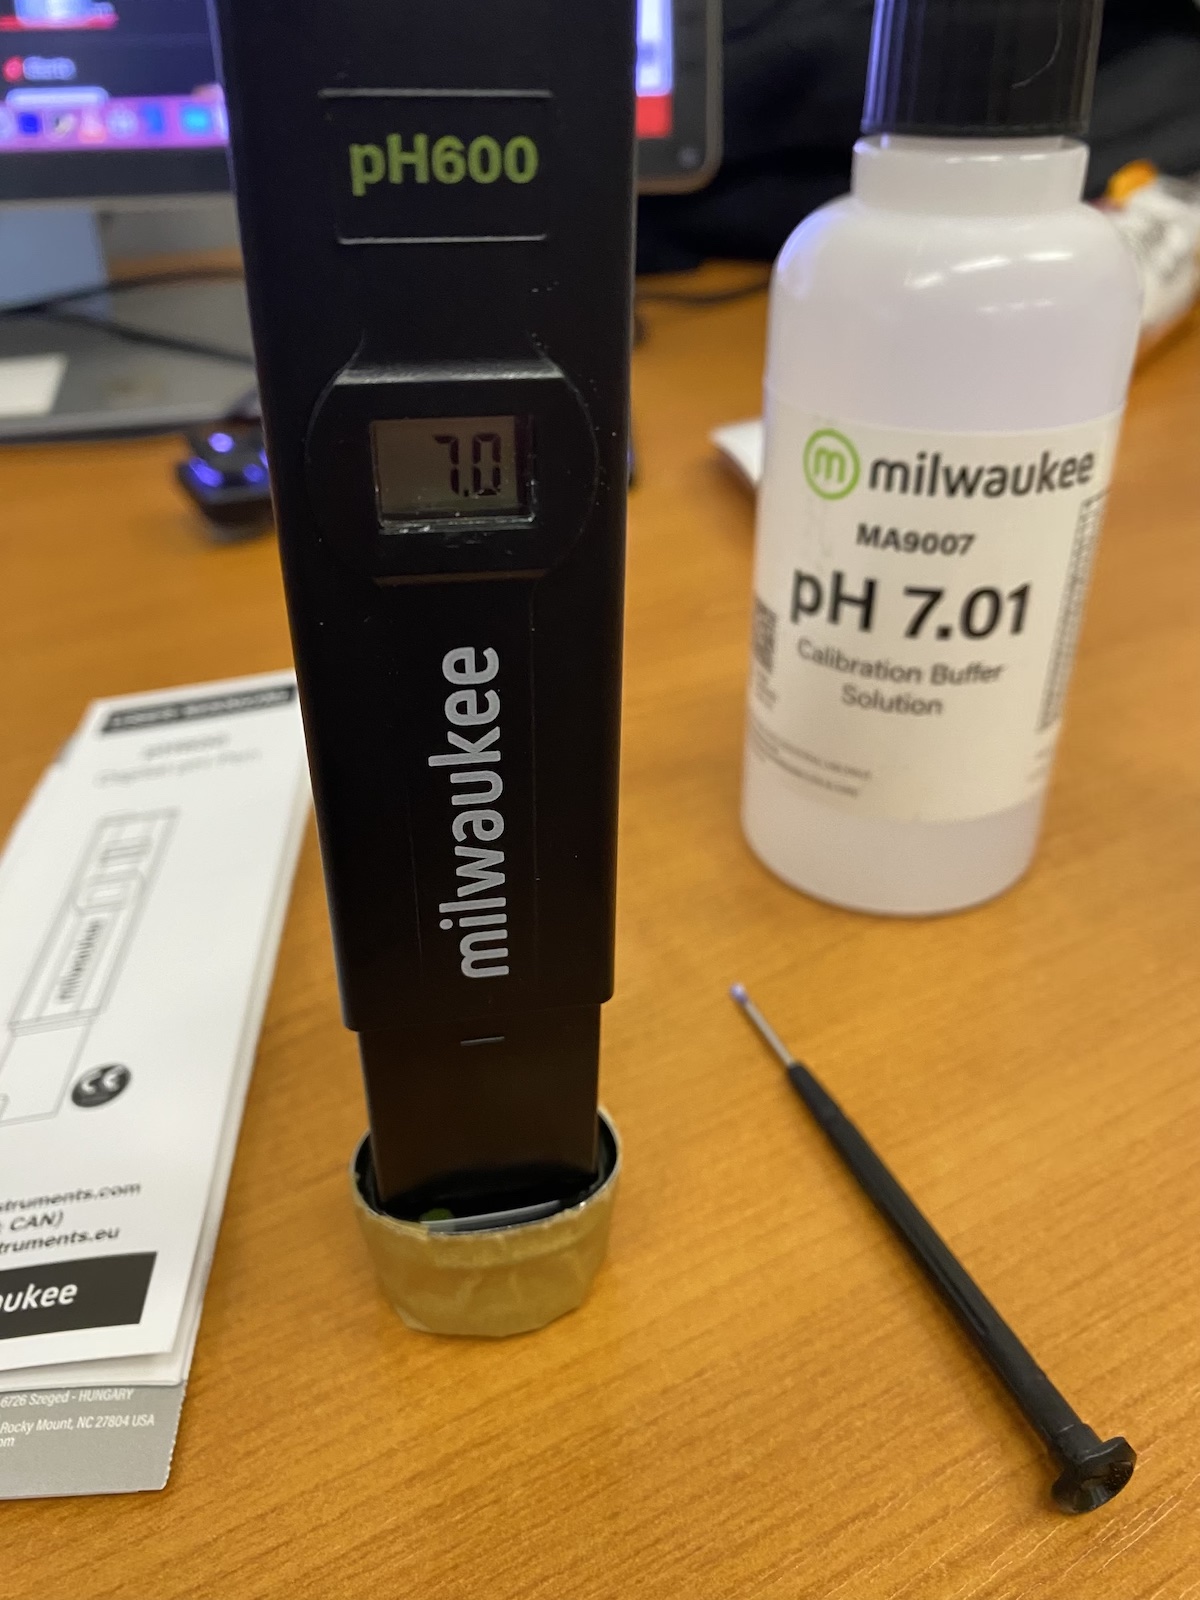
- Adjust the trimmer on the back of the device using a screwdriver until the display shows “7.0”.

And that’s it! Your pH meter is now calibrated and ready to use.
Tips for maintaining your pH meter
- Calibrate your pH meter regularly to ensure accurate readings.
- Always store the electrode in the protective cap with a few drops of storage solution (MA9015).
- Never use distilled or deionized water for calibration, as it can damage the electrode!
Solutions for maintenance
There are 2 more solutions you will need for maintanance.
- Storage solution MA9015
- Cleaning solution MA9016

Storing the electrode
Proper storage is essential to prolong the life of your pH meter. Follow these steps:
- Use MA9015 storage solution or pH 4.01 calibration solution (M10004).
- Pour a few drops into the protective cap.
- Replace the protective cap securely over the electrode.
Cleaning
At least once per month clean the electrode with recommended solution MA9016 for 30 minutes.
Logging
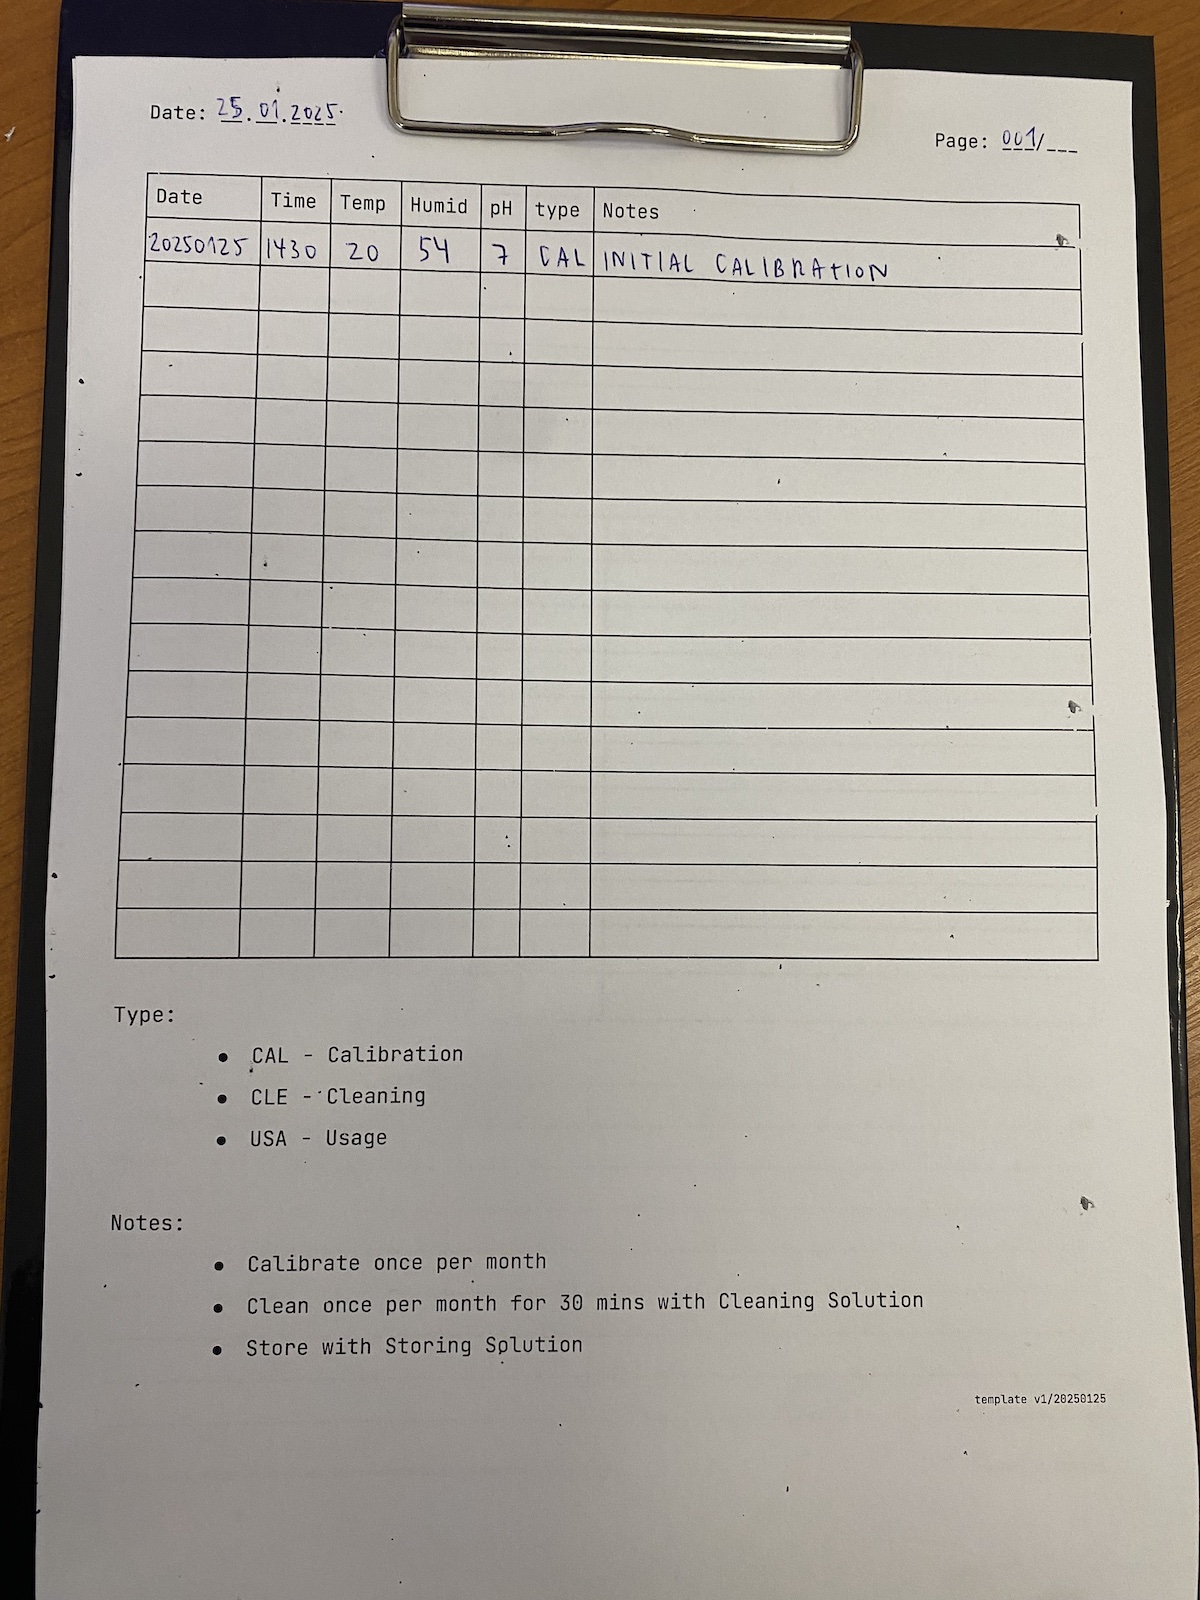
For consistent tracking, I created a template to log the calibration and usage of my pH600. Having a record helps me monitor the meter’s performance and ensure everything stays on track.

